As we chose a Geiger-Müller counter for our secondary mission in order to measure the changes in background radiation in relation to altitude, it became apparent that a some sort of sensor was going to be required. It was not as easy however, as we had previously thought. We discovered, that off the self Geiger counter modules that can be easily connected to an ESP32 or Arduino microcontroller don’t really exist, and the ones that do exist are either too bulky or not budget friendly enough. So we set out on a journey to construct our own counter for β and γ particles.
How a Geiger-Müller counter measures radiation?
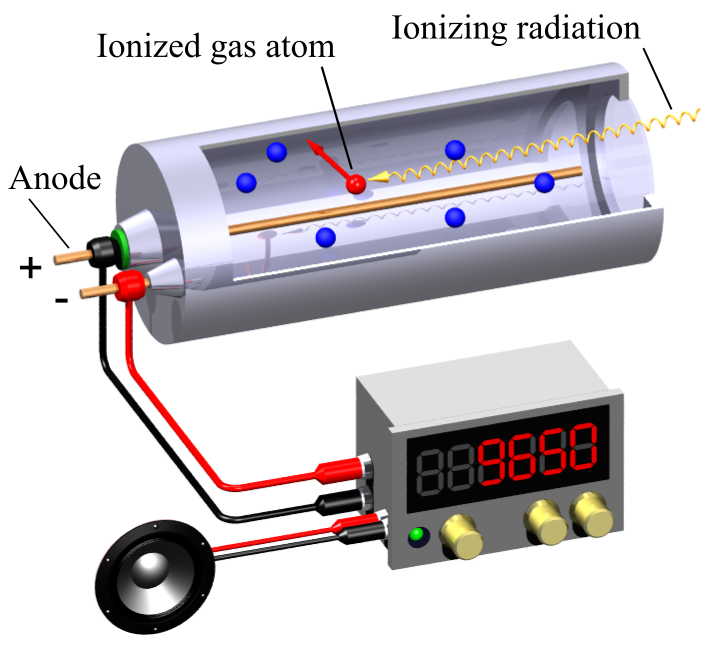
The most important base for any Geiger counter is the Geiger-Müller tube. This is a metal tube filled with low pressure inert gases (most often neon or argon), with a thin metal wire running inside. When there is a high enough voltage, typically 400-600V, applied between the wire and the body of the tube, it creates a strong electric field inside the cylinder, but not strong enough to make the inert gases conduct electricity. When a radioactive particle (β or γ) enters the tube it hits one of the gas molecules inside, knocking one electron off, creating a positive ion and a free electron. Because the central wire is positive, the negative electron is pulled towards it at a very high speed, colliding with more atoms in its way, knocking off even more electrons. This causes a sort of chain reaction called a Townsend Avalanche. All those electrons hitting the wire create a pulse of electricity which can either be heard through a Piezo speaker or detected by a digital circuit. This works quite well, but in order for the tube to be able sense another particle it needs to ‘reset’. For this, a small amount of a so called quenching gas (usually bromine or chlorine) is added to the tube to soak up the left over energy, and keep the tube from firing continuously in an infinite loop.
Our design
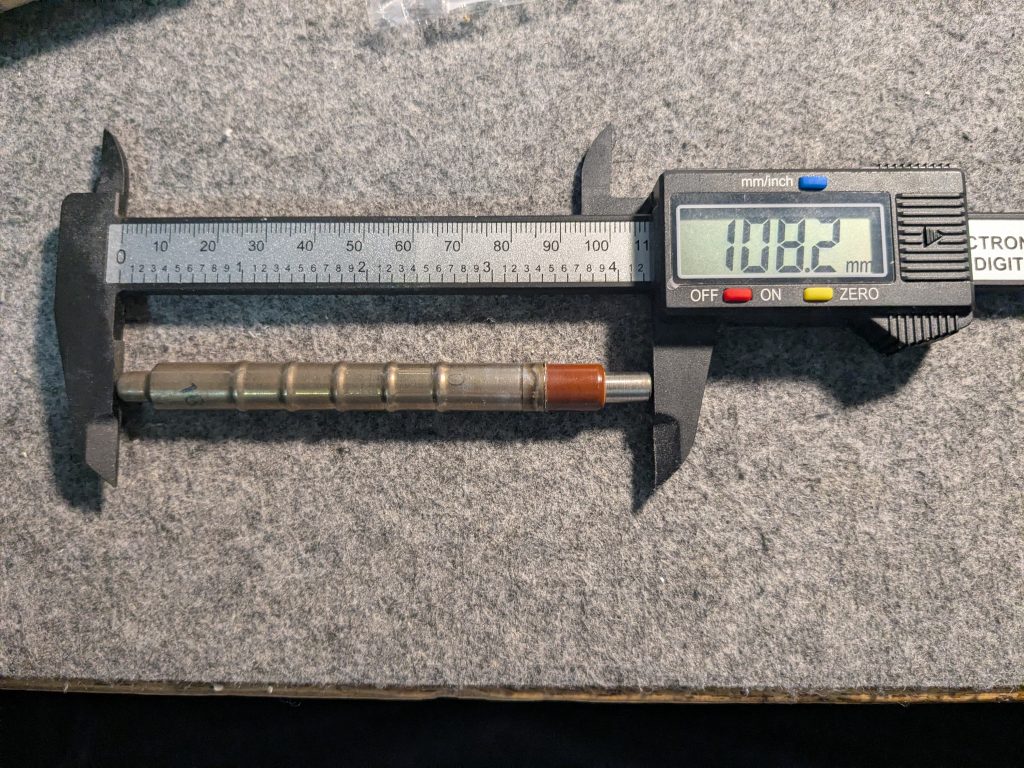
There are many different Geiger-Müller tubes available, but we chose the Soviet-era SBM20, as it’s very well known, reliable, has some great example circuits online and most importantly, it can still be relatively easily sourced from post-soviet or eastern bloc countries. The tubes specifications are as follows:
In case you don’t know Russian, you can read the detailed specifications in English on this website: https://www.gstube.com/data/2398/
The next important peace of the puzzle is the source of the high voltage required. This can be quite tricky to obtain, especially in such a small form factor that a CanSat has. Fortunately, there is a solution, and it is an electric fly swatter, used to kill bugs using an electric shock. Such device can be purchased for around €5 online and contains a simple switching step up circuit, capable of producing well over a thousand Volts only from two AA batteries. It however lacks the capability to supply a high current, which is in our case fortunately not necessary, as the tube only draws approximately ~20-40μA of current.
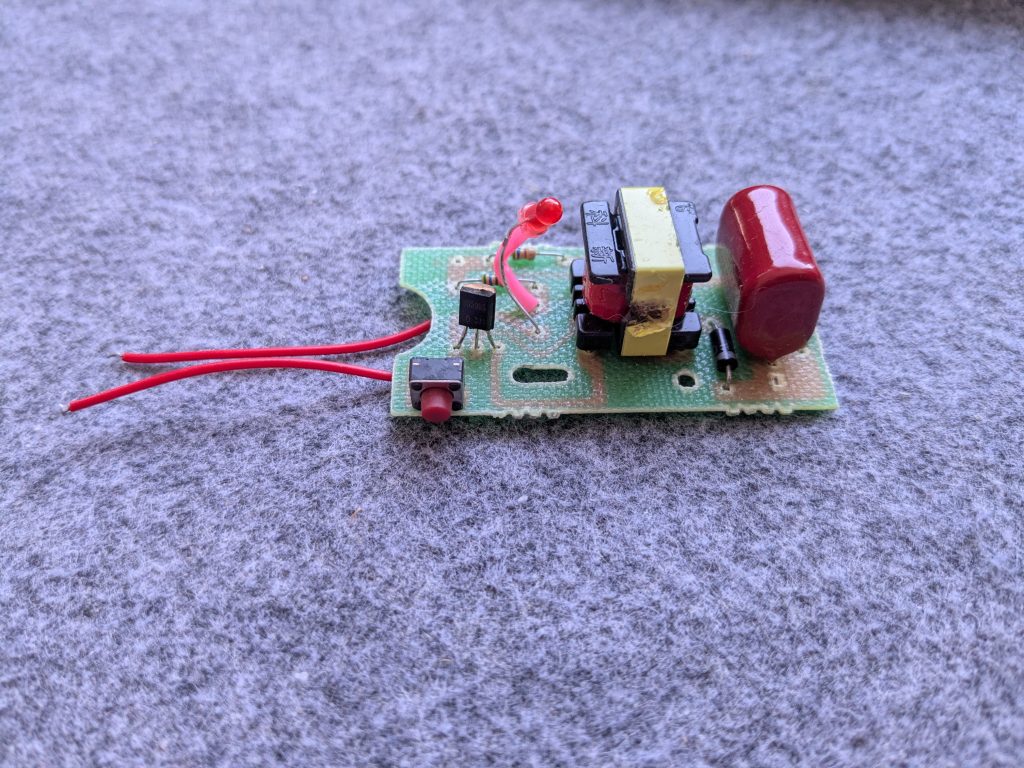
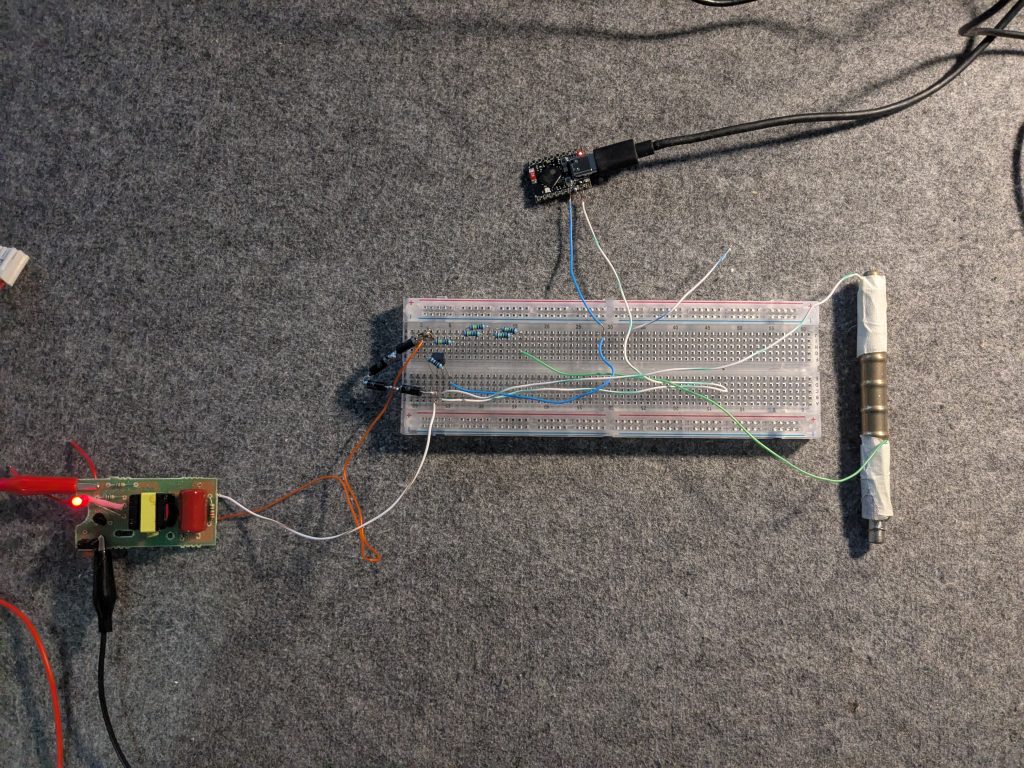
This is than fed into the rest of the circuit which consists of 4 zener diodes for voltage regulation, a few resistors required for the tube’s normal operation and a small transistor as a sensing circuit. This transistor pulls the ESP32’s output pin down when it detects a pulse of voltage across the measuring cylinder. In place of the microcontroller a Piezo speaker can also be connected, making the clicks audible, and creating the iconic sound of Geiger counters known from movies.
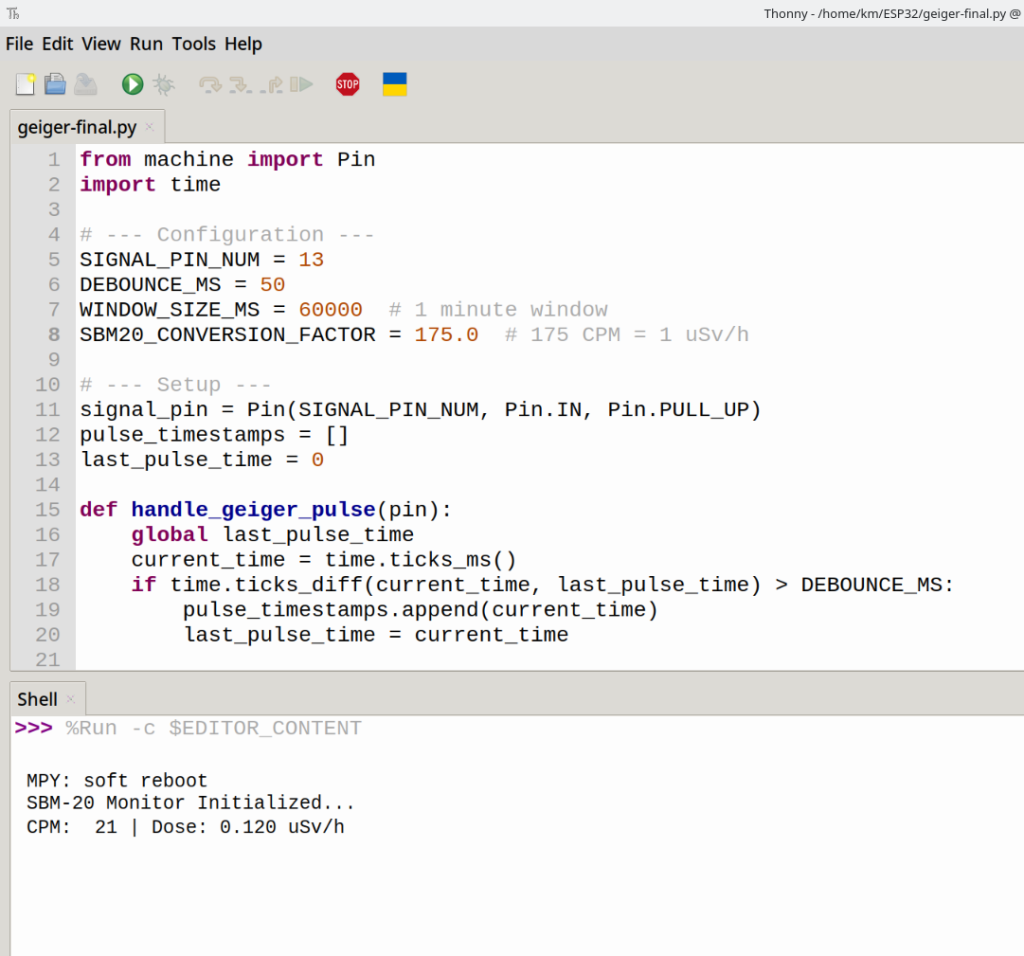
The ESP32’s code is dead simple. It uses an interrupt to sense the relatively short pulses coming from the Geiger circuit and when a pulse is detected it ads the timestamps of the said pulse to an array. Then it goes through the list, and based on the number of clicks in the past minute, it can show a CPM count. It is important to have such a sliding time window for measurement, as radiation is inherently random, so the readings need to be averaged out over time. One more important addition is a ‘de-bouncing’ script, which makes sure that no two pulses are detected twice due to interference or so called ringing.
Based on the CPM reading and the manufacturers original calibration an approximal radiation dose reading in μSv/h is also displayed, with the base conversion rate being set at 175 CPM = 1 μSv/h. If testing compared to commercial Geiger counters provides a different conversion ratio we will be sure to update it in the code.
The simple code for the microctroller can be found on the Github page for the project.
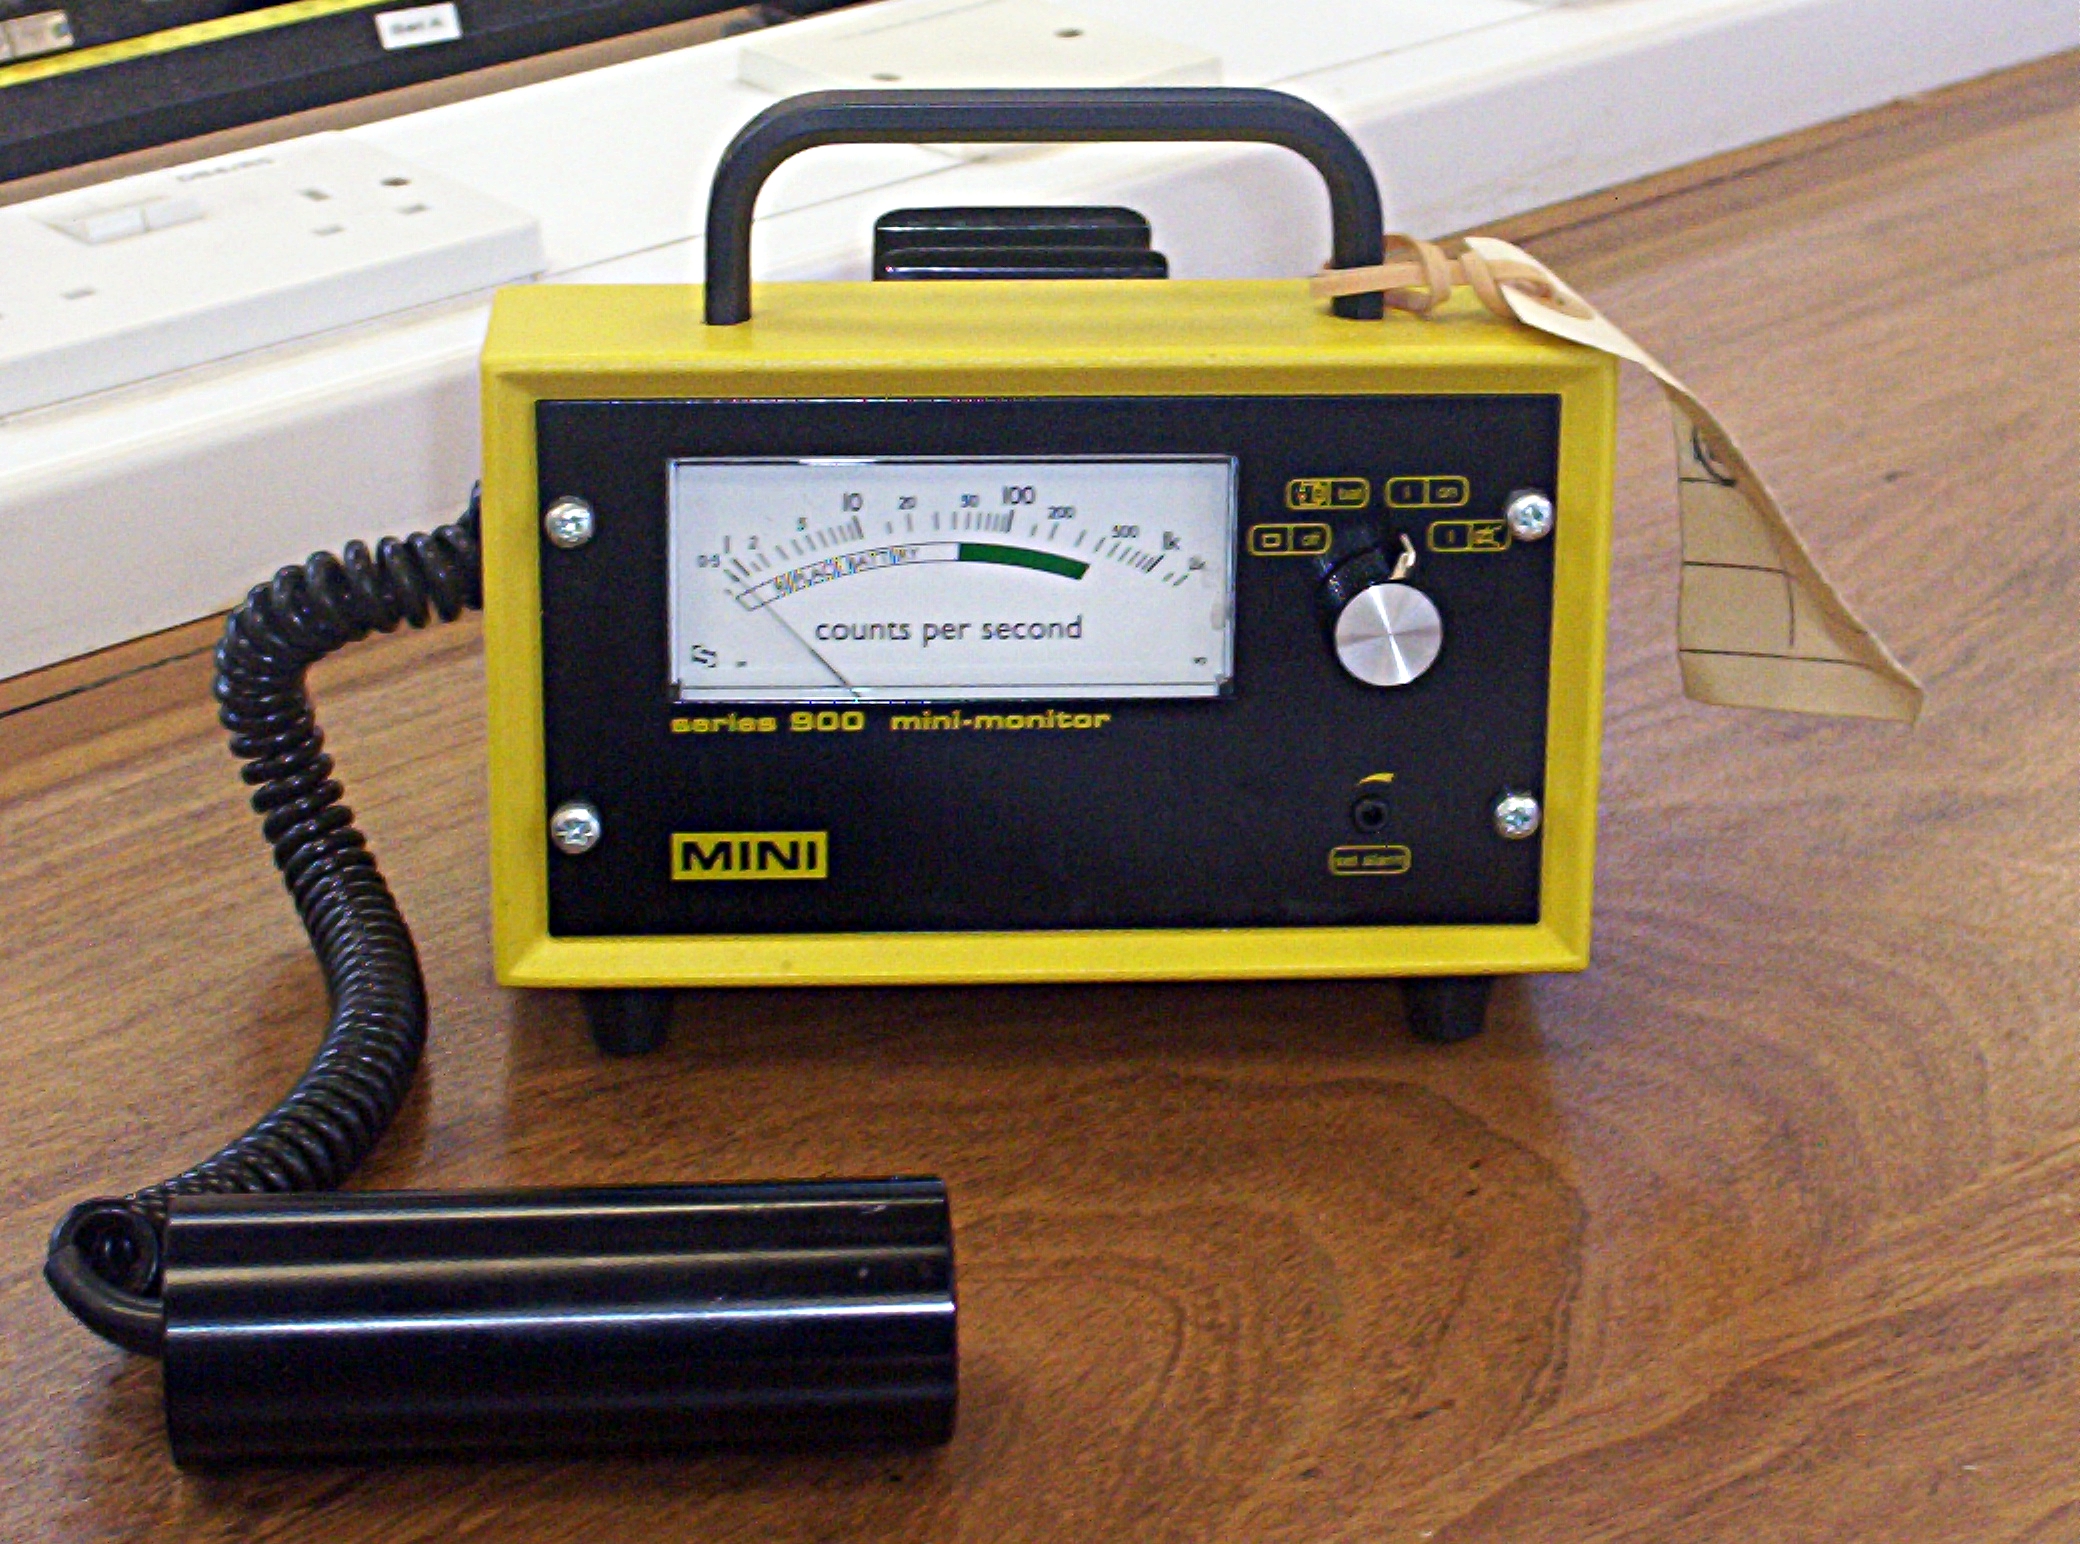
Featured image: By Boffy b – Own work, CC BY-SA 3.0
by Márton Kürthy
