The first tests of the BMP280 Sensor and the ESP32 microcontroller.
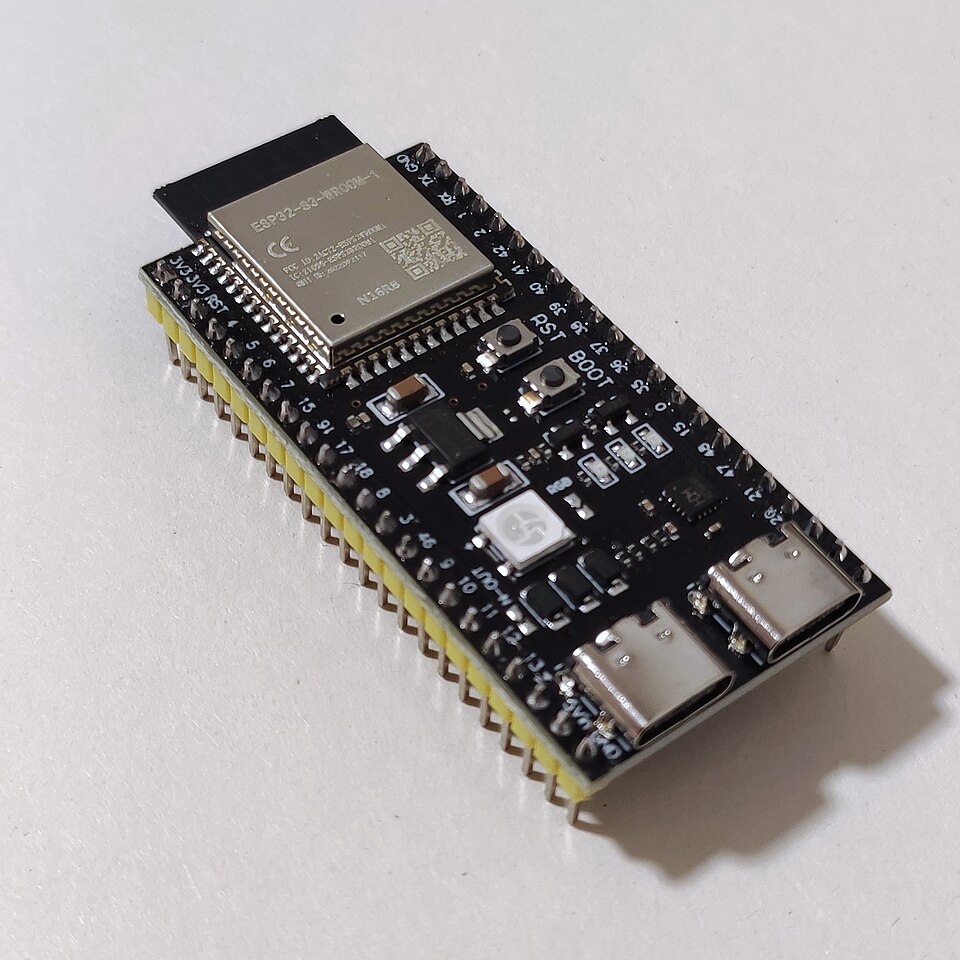
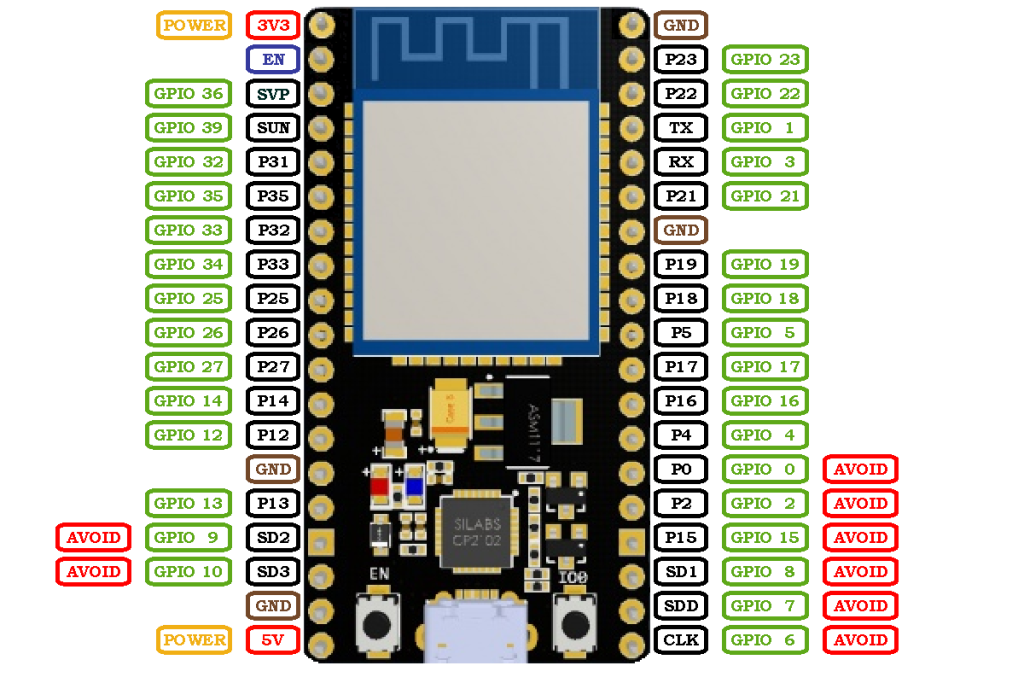
There are many versions of the ESP32 that exist, the specific one we use is called the “NodeMCU ESP-32S“. Using online diagrams and documentations, and some testing, the following pinout diagram was able to be sketched up:
The sensor that we purchased – as we found out – not only contains a BMP280 temperature and barometric pressure sensor, but also an ATH20 temperature and humidity sensor as well.
First steps
Because we chose Micropython to program out microcontroller we need to first upload that firmware to the device. To do that the esptool library needs to be installed using the following command:
pip install esptoolWhen we have verified that the required libraries are installed we need to actually load the Micropython firmware. It can be downloaded from the official website using this link. After we have the correct file it needs to be flashed using the command:
esptool --chip esp32 write_flash -z 0x1000 <firmware path> Now the ESP should be ready to program, but first we need to install another extra python library which will help with transferring and running files. This package is called mpremote and it can be installed using the following command:
pip install mpremoteNow we need to test if the ESP is connected and recognised by the computer:
mpremote replIf we get a response along the lines of ‘Connected to MicroPython at COM<number>’ than we’re good to go.
Testing the sensor
Now we need to verify that our sensors are working and operational.
First we need to download the sensor drivers for our sensors in order for the ESP32 to be able to read their values. For the AHT20 there is and official driver which can be downloaded from this link.
There is no official Micropython driver for the BMP280, but luckily David Stenwall has written one, which is freely available under the MIT licence and can be downloaded from his Github page.
Now that we have our drives we can write the actual code for reading out the sensors. The testing code is very simple, it reads the sensor values and prints them out to the console.
from machine import Pin, I2C
import ahtx0
import bmp280
import time

i2c = I2C(0, scl=Pin(22), sda=Pin(21))

aht = ahtx0.AHT20(i2c)
bmp = bmp280.BMP280(i2c, addr=0x77)

while True:
    temp_aht = aht.temperature
    hum = aht.relative_humidity
    temp_bmp = bmp.temperature
    pressure_hpa = bmp.pressure / 100
    temp_diff = temp_aht - temp_bmp

    print("AHT20: Temperature is ", temp_aht, "celsiusDeg, Humidity", hum, "percent")
    print("BMP280: Temperature is ", temp_bmp, "celsiusDeg, Pressure", pressure_hpa, "hPa")
    print("Difference is ", temp_diff, "celsiusDeg") # This is constantly ~-1C so the sensors are somewhat offset from each other
    time.sleep(1)
The wiring is also very simple, only 4 wires need to be connected. One for power, one for ground and two for data communication over I2C. We used PIN 22 and PIN 21 for that.
Featured image:
VectorVoyager, CC BY-SA 4.0, via Wikimedia Commons